Monthly Archives: March 2013

Creamy Tomato Basil Soup

Standard

If I ever ate soup when I was a kid, it was chicken noodle. Never tomato. And never ever anything with weird veggies or other foreign ingredients. But now some of my favorite go-to recipes are soup recipes…chicken wild rice, chicken corn chowder, french onion. Mmmmm. But I still didn’t like tomato soup until my husband begged me to make it for him a few years ago. I always just bought him a can of Campbells and had him make his own, but he asked me to make it from scratch so I found a recipe and gave it a try. And I still don’t love tomato soup on its own, but with gooey grilled cheese to dip in the soup? Heavenly.

I don’t even remember the source of my original tomato basil soup recipe, and I’ve changed it so much from its original version that it’s not even recognizeable anymore, so I’ll just go ahead and call this my own recipe. It’s easy and it has become a staple in our house. We eat it almost weekly. My 19 month old, who does not touch vegetables, loves it. And it’s so much better than condensed can-of-something. 

Don’t be alarmed or deterred by the presence of butter and cream in this soup. It is a rich soup and it’s probably not low-fat, but it is delicious and if it makes you feel better, I cut the quantity of both butter and cream in half from the original recipe, and the soup is still rich and amazing, with fewer calories. It’s worth it, trust me. (And I don’t recommend substituting half-n-half or milk for the cream, tempting as it may be. I found out the hard way that the consistency of the soup is terrible without actual cream.)

Creamy Tomato Basil Soup

Ingredients:

  • 1 large can (28 oz) diced tomatoes (or about four large fresh tomatoes, chopped)
  • 6 cups tomato juice
  • generous handful of fresh basil (or about 1 Tbsp dried or freeze-dried basil), or adjusted amount to taste
  • 1/2 tsp each salt and pepper (or to taste)
  • 1 cup heavy cream
  • 4 Tbsp unsalted butter

Combine diced tomatoes and tomato juice in your favorite stock pot and heat on medium-high until boiling. Reduce heat slightly and let the mixture simmer about 20 minutes (longer if using fresh tomatoes), stirring occasionally, until the mixture is slightly reduced and the tomatoes are very soft. Remove from heat. Add the basil to the pot and, using either an immersion blender, or transferring the mixture to a traditional blender, blend the mixture until throughly combined and consistency is smooth. Return to the pot and turn the stove on low. Add the butter and stir until melted, then add the salt, pepper, and cream and stir until combined. Serve immediately and do not boil once the butter and cream are added.

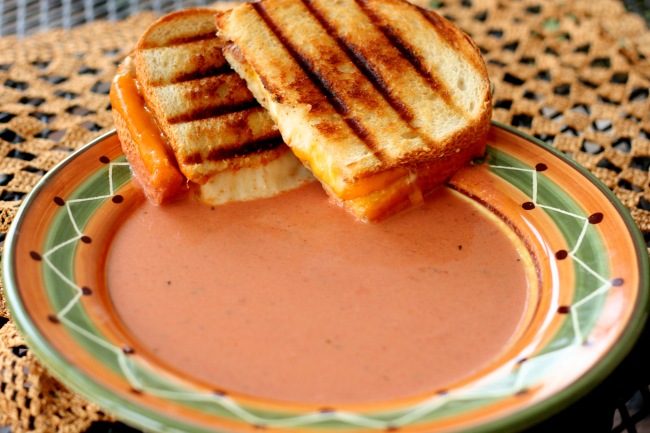
I love serving this with grilled cheese on sourdough bread. It’s the one soup that I don’t eat with crackers or plain bread. Can you see why?
Image

Project.12: The Colors of the Rainbow

Standard

This month’s theme for Project.12 is Song Lyrics. I thought about it for weeks because we love music in this house, and my kids have a huge playlist of songs that they love to sing and dance to. The song I chose isn’t even on the kids’ playlist, but it is one that Lucy asks me to sing to her a lot because she loves rainbows. In fact, her fourth birthday party in January was rainbow-themed.

This song is one I learned from watching Barney, of all things, with my sister when she was little. And I still remember the lyrics somehow. 

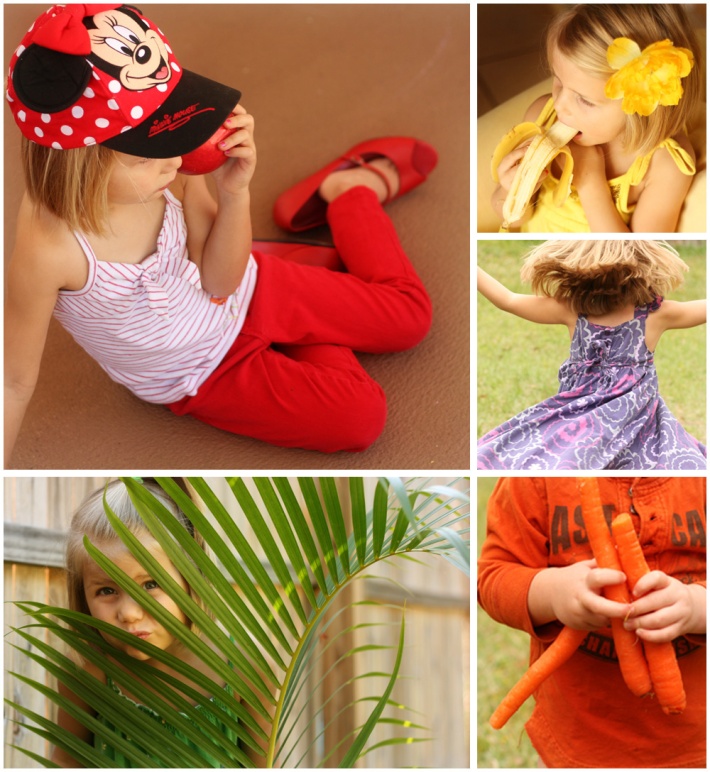
I chose this song because of Lucy’s love for rainbows (thus making her a more willing photo subject) and because I thought it would be a great challenge to use so many different colored clothes and props. Turns out, it was a little over-ambitious and doesn’t really look like a coherent session because we were literally all over the place…but it was still really fun. I vowed when I began that I would let the kids run with it, would not hound them or get frustrated trying to “pose” them. So if that ever started to happen, I stopped, put down my camera, and let them run around or go do something else. So the project was stretched out over a few days because of that, but my kids loved it. Lucy is usually my most reluctant photo subject, but she loved hunting down clothes, food, and other “props” in all the colors of the rainbow. And watching both kids run around the yard munching on giant raw carrots was probably the highlight for me. This morning Lucy even asked, “Mom, can I wear my red clothes today and have red strawberries for my snack?” The photo project is over, but the idea lives on. Success.

I also challenged myself this month by creating my first storyboard collage. I used a template, but it was still challenging and I had to watch four youtube tutorials before I finally figured it out. Since I have zero patience with online research and teaching myself new things on the computer, this was a major success for me.

And now…The Colors of the Rainbow. (I took a few liberties with the lyrics. Forgive me!)

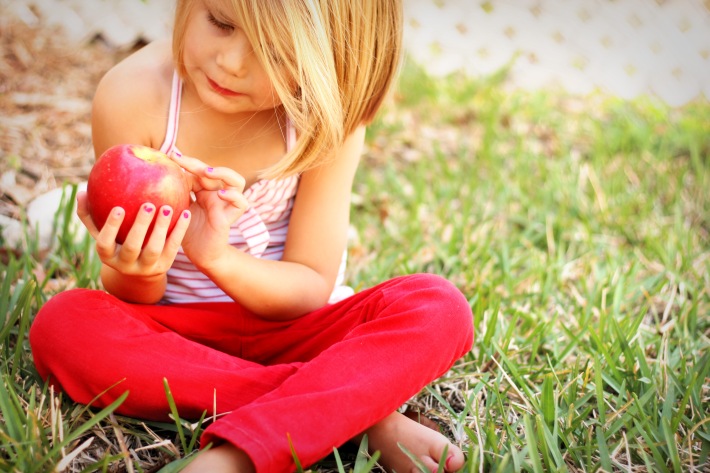
Oh I like red; it’s the color of an apple

Image


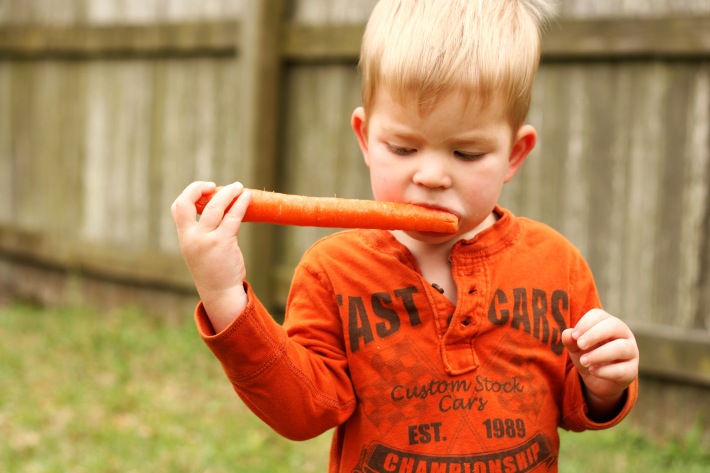
Orange, it’s the color of a carrot

Image


Yellow, it’s a banana and our wonderful sun, sun, sun

Image


Green, it’s the color of the leaves and the grass and things that grow

Image


And then there’s blue sky and water

Image


And purple is a color that’s fun, fun, fun

Image


And when we put those colors side by side, well what do you think we have?

We’ve made a rainbow, and it’s a really beautiful one.

Image

Homemade Fruit Snacks

Standard

My kids love fruit snacks. love fruit snacks. They’re just so fun, and sweet, and not as bad as candy, right? Because they’re fruit snacks?? It’s sad, but I think most brands are pretty much the equivalent of candy if we look at the ingredients list. I don’t have a big problem giving my kids fruit snacks on occasion, but they are expensive, and if there is ever a healthy (and cheaper) alternative to something, that is not too time-consuming but is still delicious, I’m all for it.

I pinned this recipe for homemade fruit snacks to Pinterest a few months ago and tried it almost immediately. I used frozen blueberries and fresh orange juice from our tree because our oranges happened to be ripe. They were good fruit snacks. My son loved them. My daughter wasn’t impressed, though. She wanted to know why they weren’t shaped like Dora. Sigh.

I didn’t love the texture of the recipe I pinned. The fruit snacks were a little too rubbery — not soft enough. So I’ve been experimenting, and the following recipe is the best I’ve come up with so far, for texture and taste. The best part (of either recipe) is that you can use a variety of berries, fruit, juice, and even sweetener. It’s very customizable. You can even add more gelatin if you like a firmer consistency. And there are no chemicals or weirdo ingredients. I also read that gelatin is very good for you — especially joint health and skin elasticity. Not something that kids worry about, but still…bonus! The cost of the fruit snacks varies depending on what kind of gelatin you get and how much your fruit costs, but it makes a pretty big batch and I don’t think it’s more expensive than a box or two of Fruit Roll-Ups if you crunch the numbers. Another bonus!

So here’s what I did…

Ingredients:

  • 3/4 cup fruit juice (I used orange juice here but it was a little too weak. Something strong/acidic is best…even lemon juice.)
  • 2 TBSP sweetener (sugar, honey, agave, etc.)
  • 1/2 cup unsweetened applesauce
  • 1 generous cup berries or any kind of fruit (I used fresh strawberries in this recipe.)
  • 5 TBSP unflavored gelatin

Combine the juice, sweetener, and berries in a small saucepan. Bring to a boil and let it simmer until the berries are very soft.

FruitSnacks1

Remove from heat and add the applesauce to the pan. Blend the mixture thoroughly, either with an immersion blender or by transferring the mixture to a standard blender. It will look really frothy but the froth goes away as it sits.

FruitSnacks2

Let the blended mixture sit for about 20 minutes until it cools to room temperature, then whisk in the gelatin, one tablespoon at a time. Mix thoroughly or you’ll end up with bland white chunks of gelatin in your fruit snacks.

FruitSnacks3

Then pour the mixture into an 8×8 or 9×9 pan and refrigerate it. It doesn’t take long for the mixture to set…maybe an hour or so. When it’s set you can cut the snacks into shapes. I just do small squares with a sharp knife. Then lift the fruit snacks out with a spatula. I store them in a covered container in the fridge, but they do pretty well at room temperature, too, if you’re out and about.

FruitSnacks4

It seems like a lot of work, but it’s not. And it’s a forgiving recipe, so tweak it to your liking…and enjoy them with your kids. I love being able to give my kids something healthy and fun at snacktime…and sneak a few for myself too.

FruitSnacks6

FruitSnacks5